Using Guided Access to Lockdown iPad Apps

Guided Access allows you to limit an iOS device to running a single app by locking the user into that app.
As this feature was introduced with iOS 6, you will need to ensure your device is updated before planning to use Guided Access.
To set up Guided Access follow these steps:
- Launch the Settings App
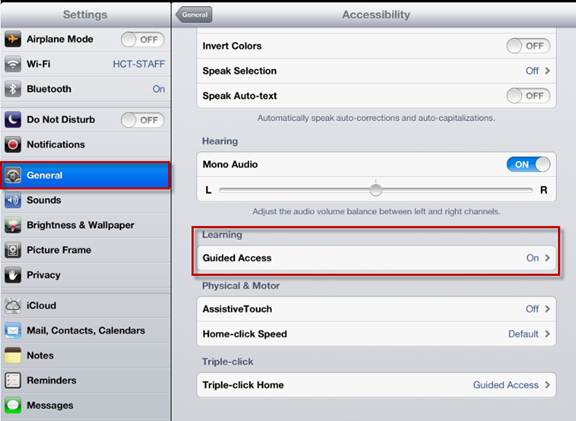
- Go to General and choose Accessibility
- Turn Guided Access ‘On’
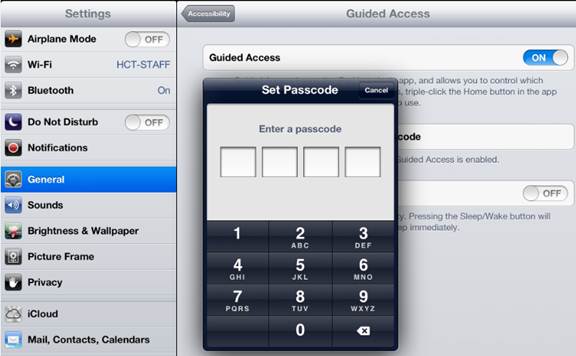
- Next, set and confirm the passcode
- Return to the Home page and launch the app you want to lock the device into
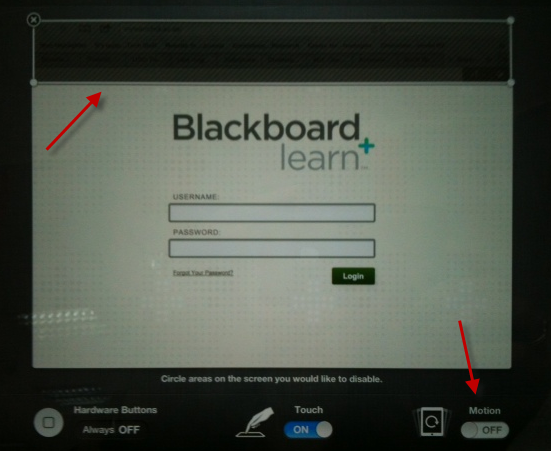
- Triple-click the Home button and the Guided Access set-up screen appears
- Circle the area on the screen you want to lock.
- Tap the Start button
- The disabled area is greyed out on the screen
While the Guided Access lock is in place, the user cannot pinch, change the volume, take a screen shot or use the Home button. To disable the Guided Access lock, triple click the Home button and enter the passcode. You will be returned to the Guided Access set up screen. Select End and the user will be able to use all functions of the device again.
Additional Updates:
In the Guided Access screen set up area (above), the Motion option should be turned OFF. This ensures that the user can only use the iPad in landscape mode. If Motion is turned ON, Guided Access is disabled when the user switches from landscape to portrait.
Recent Posts
Teaching infographics #2 – VOCAL: Traits of a Successful Online Teacher
This graphic is a quick guide for some common s...10 routines for teaching online – #4 Talk types
The idea of ‘talk types’ is loosely...
Differentiating Instruction in Your LMS
Anyone who has been in the world of education f...